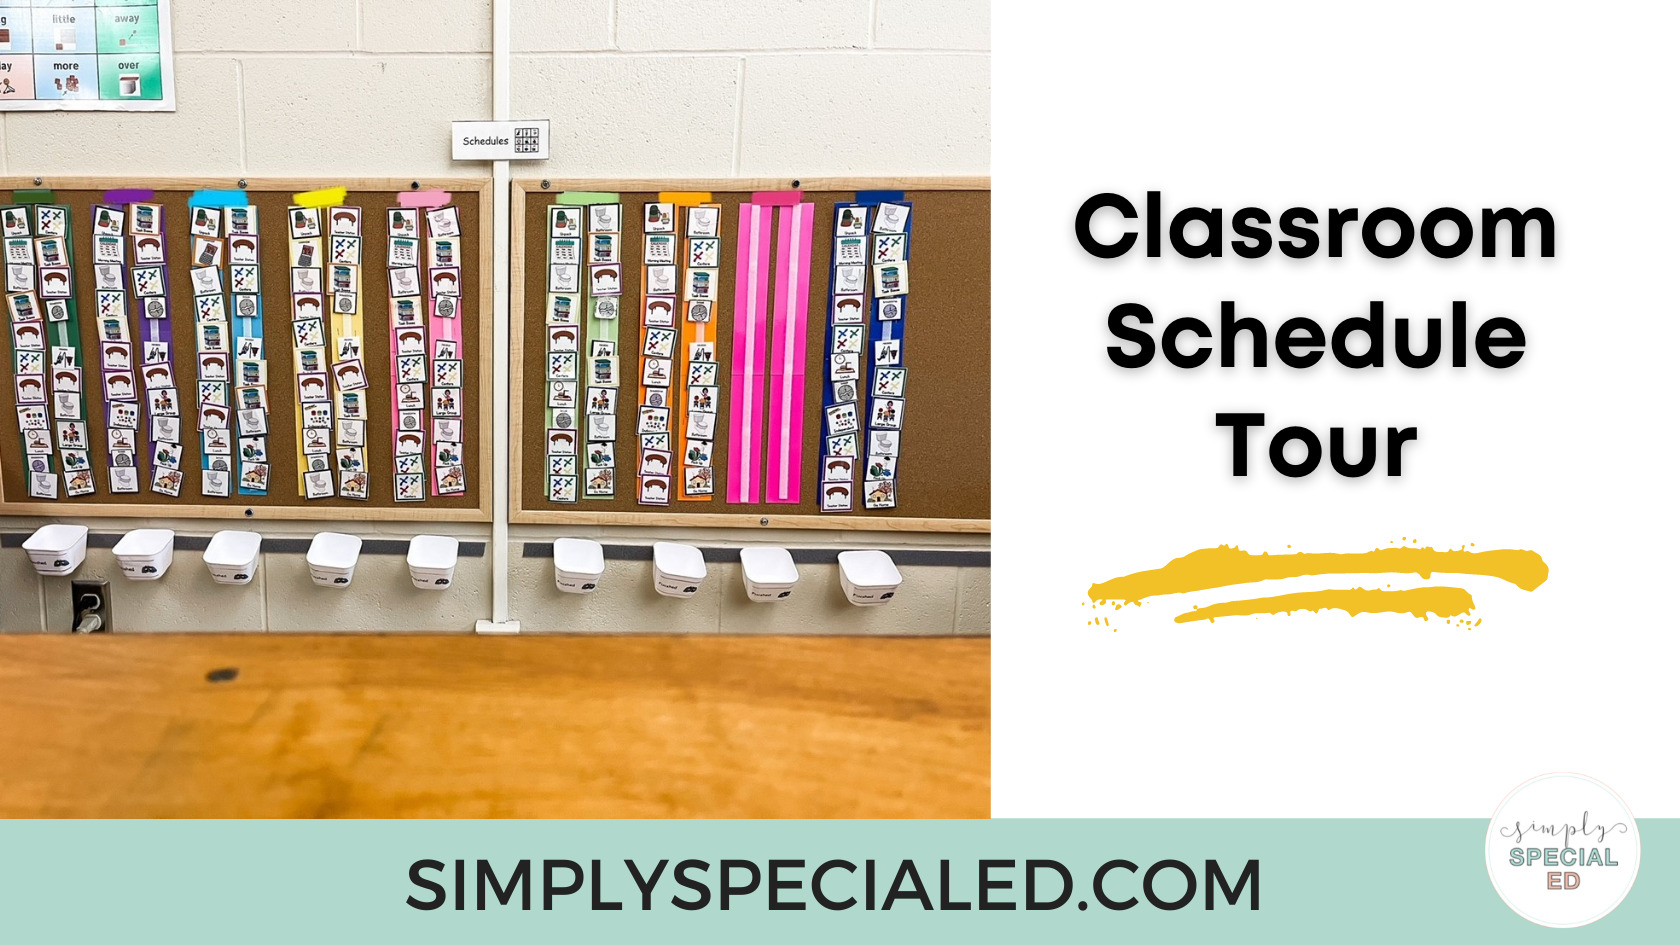
Visual schedules are crucial for student success in special education. We all thrive on schedules. If you’re struggling to create and use schedules with your students, let me help! I’m going to give you my classroom schedule tour.
How to Prep Schedules
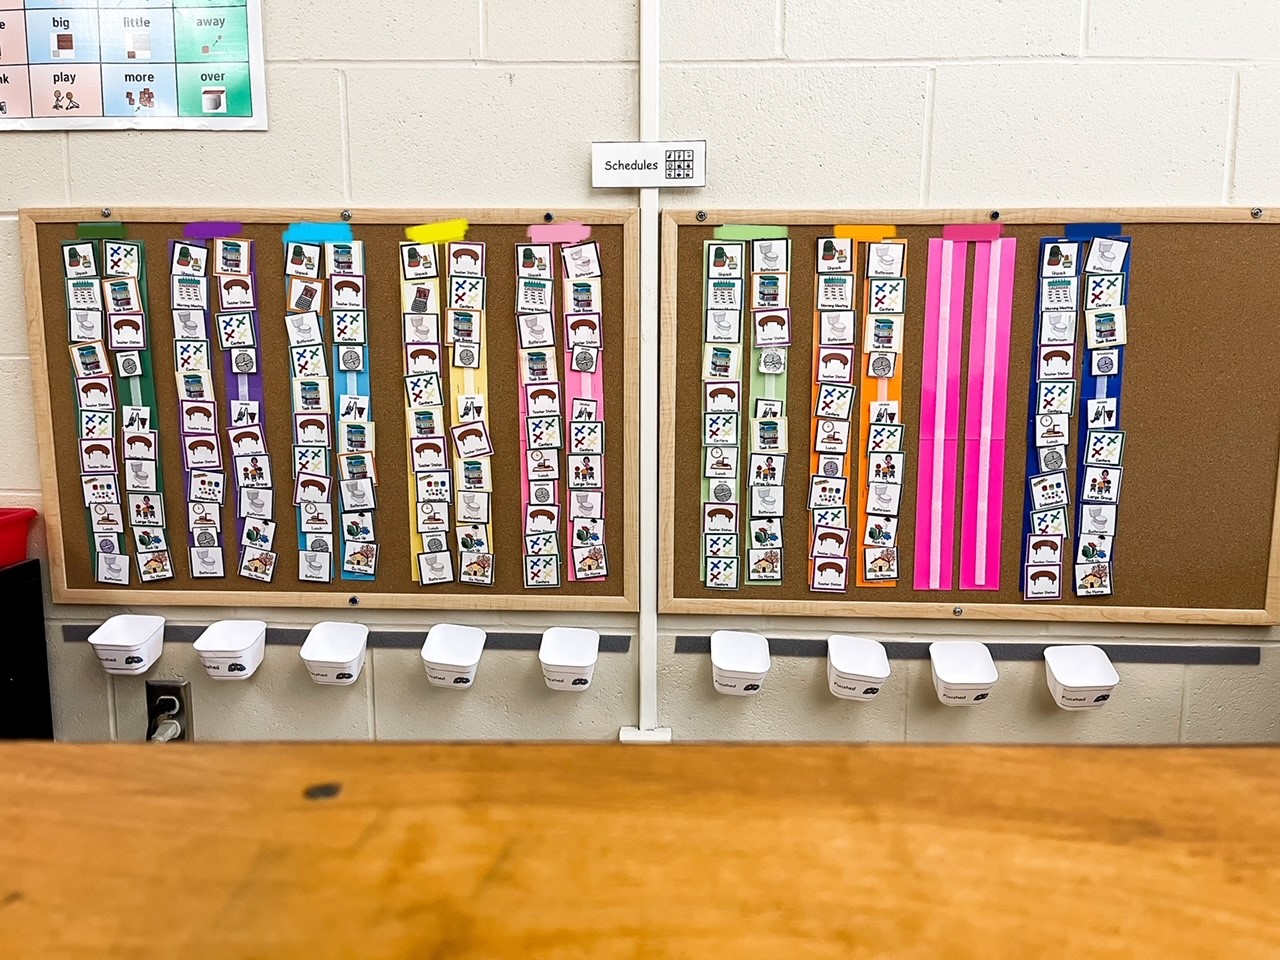
First up in my classroom schedule tour, let’s take a look at my schedules and break down how to prep them. I use the Simple Visual Schedules for all my schedule pieces. These are break because there are 13 different color borders, so if you like to color code either by student or by center these make that so easy! You’ll need these items to prep these schedules.
Once you have all materials, print and laminate the schedule pieces. I color code my centers, so I print the corresponding schedule pieces in the correct color border. For non color coded schedule pieces (lunch, recess, specials, etc.) I use the black or grey border pieces. Then laminate your colored paper and cut into strips. Once it is in strips, tape or staple it together to create the appropriate length for two columns. These will house each student’s schedule. I also color code by student, so each student has their own color. Attach the bulletin board to the wall. I asked my custodian to anchor mine into the wall at the students’ eye level. I staple the schedule strips to the bulletin board, then attach Velcro strips for the schedule pieces to attach to. Last, Velcro finished baskets to the bottom of each schedule for finished schedule pieces.

How to Set Up Schedules
Next, let’s go over how to set up the schedules for the day. Once you have decided the sequence of your classroom schedule, then write out the sequence of schedule pieces each student will need. I make a Google Doc with a table with student names in the columns, then I fill in the sequence of their schedule. Then I put this in a page protector to keep near our schedule station. This makes it super easy to reset the schedules each day. Once you have your sequence for each student, just fill in their schedules with each schedule pieces. I put the whole day up on two columns, but you can set this up however works best for you and your students. As the students complete activities, they place the schedule pieces in the finished basket.
Teach Your Students How to Use Schedules
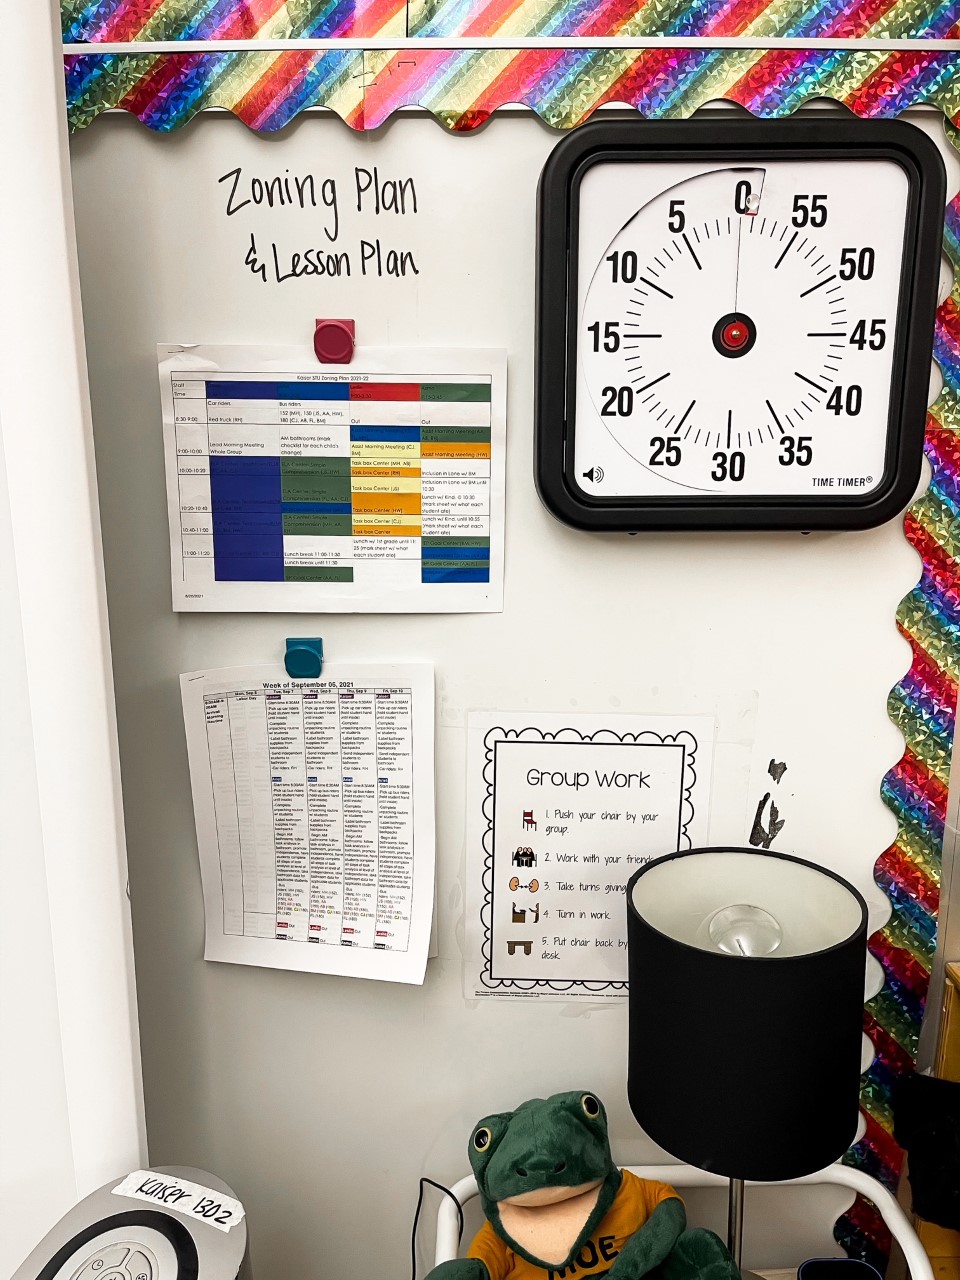
So your schedules are prepped and ready to use, now how do you get your students to use them? You have to explicitly teach them how to use them. To do this, I use a timer, specific language, and I model exactly how to use the schedule. When first starting, I will use most to least prompting with my students and fade out support as they begin to use their schedule independently. When I first start, I will use either hand over hand, gestures, or verbal prompts depending on the level of each student. I will assist them in taking their schedule piece, going to the correct area, checking in, then also checking out, putting their schedule piece in finished, and taking the next schedule piece. It completely depends on each student how long it takes them to pick up on using their schedule. I’ve had students pick it up in a few days, and I’ve also had students that required some form of prompting for months until they eventually get it. The key is to be consistent!
How to Transition Your Students
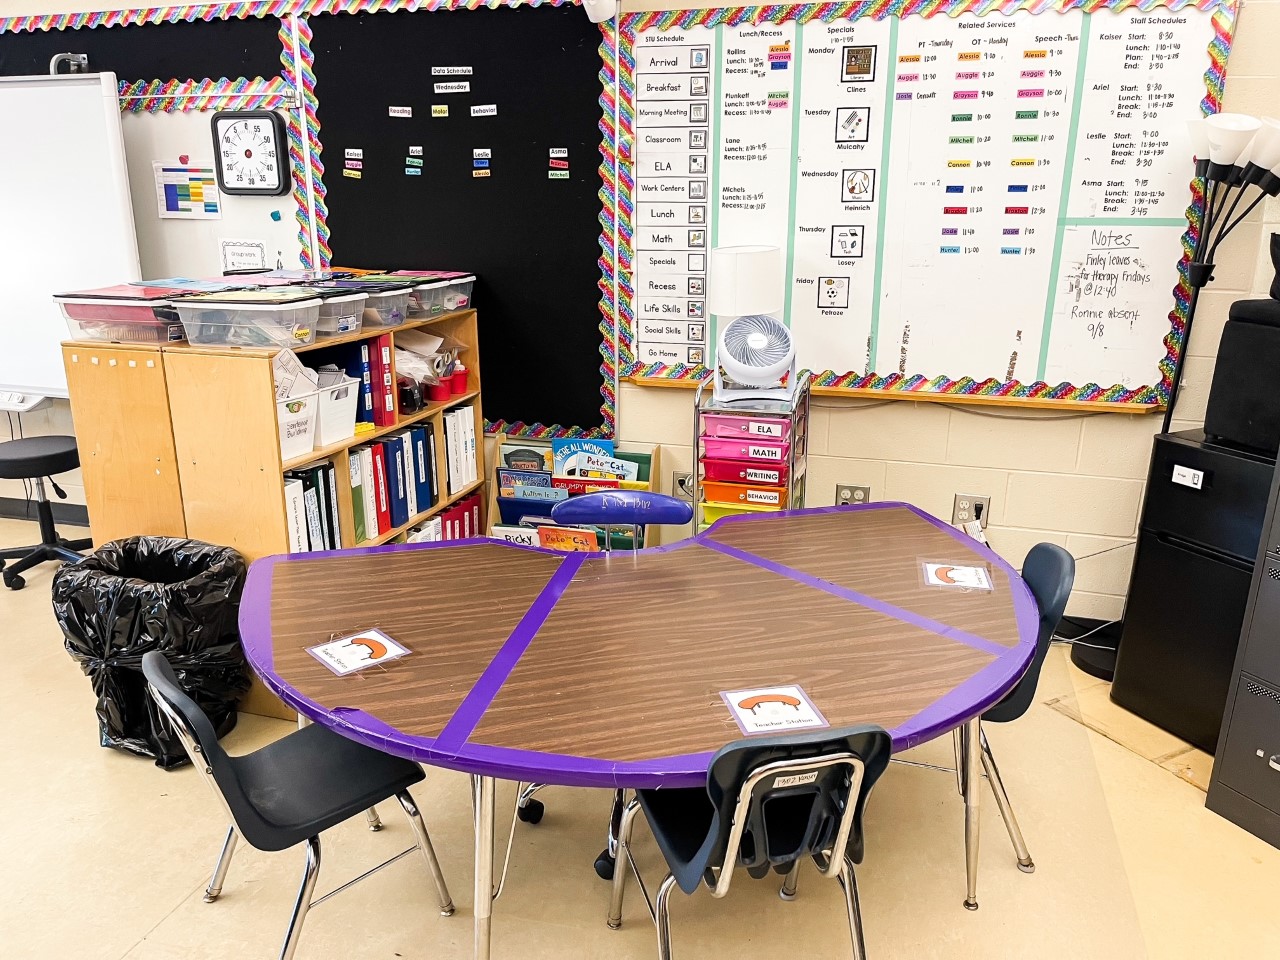
I use this exact sequence each time my students transition to their schedules:
- Timer goes off- I use the same timer each time to have the same sound and/or visual
- I say “Timer went off, check out, check your schedule”
- Students take their schedule piece from the table check in
- Students walk to their schedule
- Students put their schedule piece in their finished basket
- Students take the next schedule piece on their schedule
- Students go to the corresponding area of their schedule piece
- Students check in to table or area
Repeat this sequence for every single transition. It may seem redundant, but it truly makes a difference for our students that need structure and routine. They will feel more in control of their day when they have and can successfully use their visual schedule. You can use this method for any type of schedule that your students need! Read this blog post on different types of schedules.
How to Store Schedule Pieces
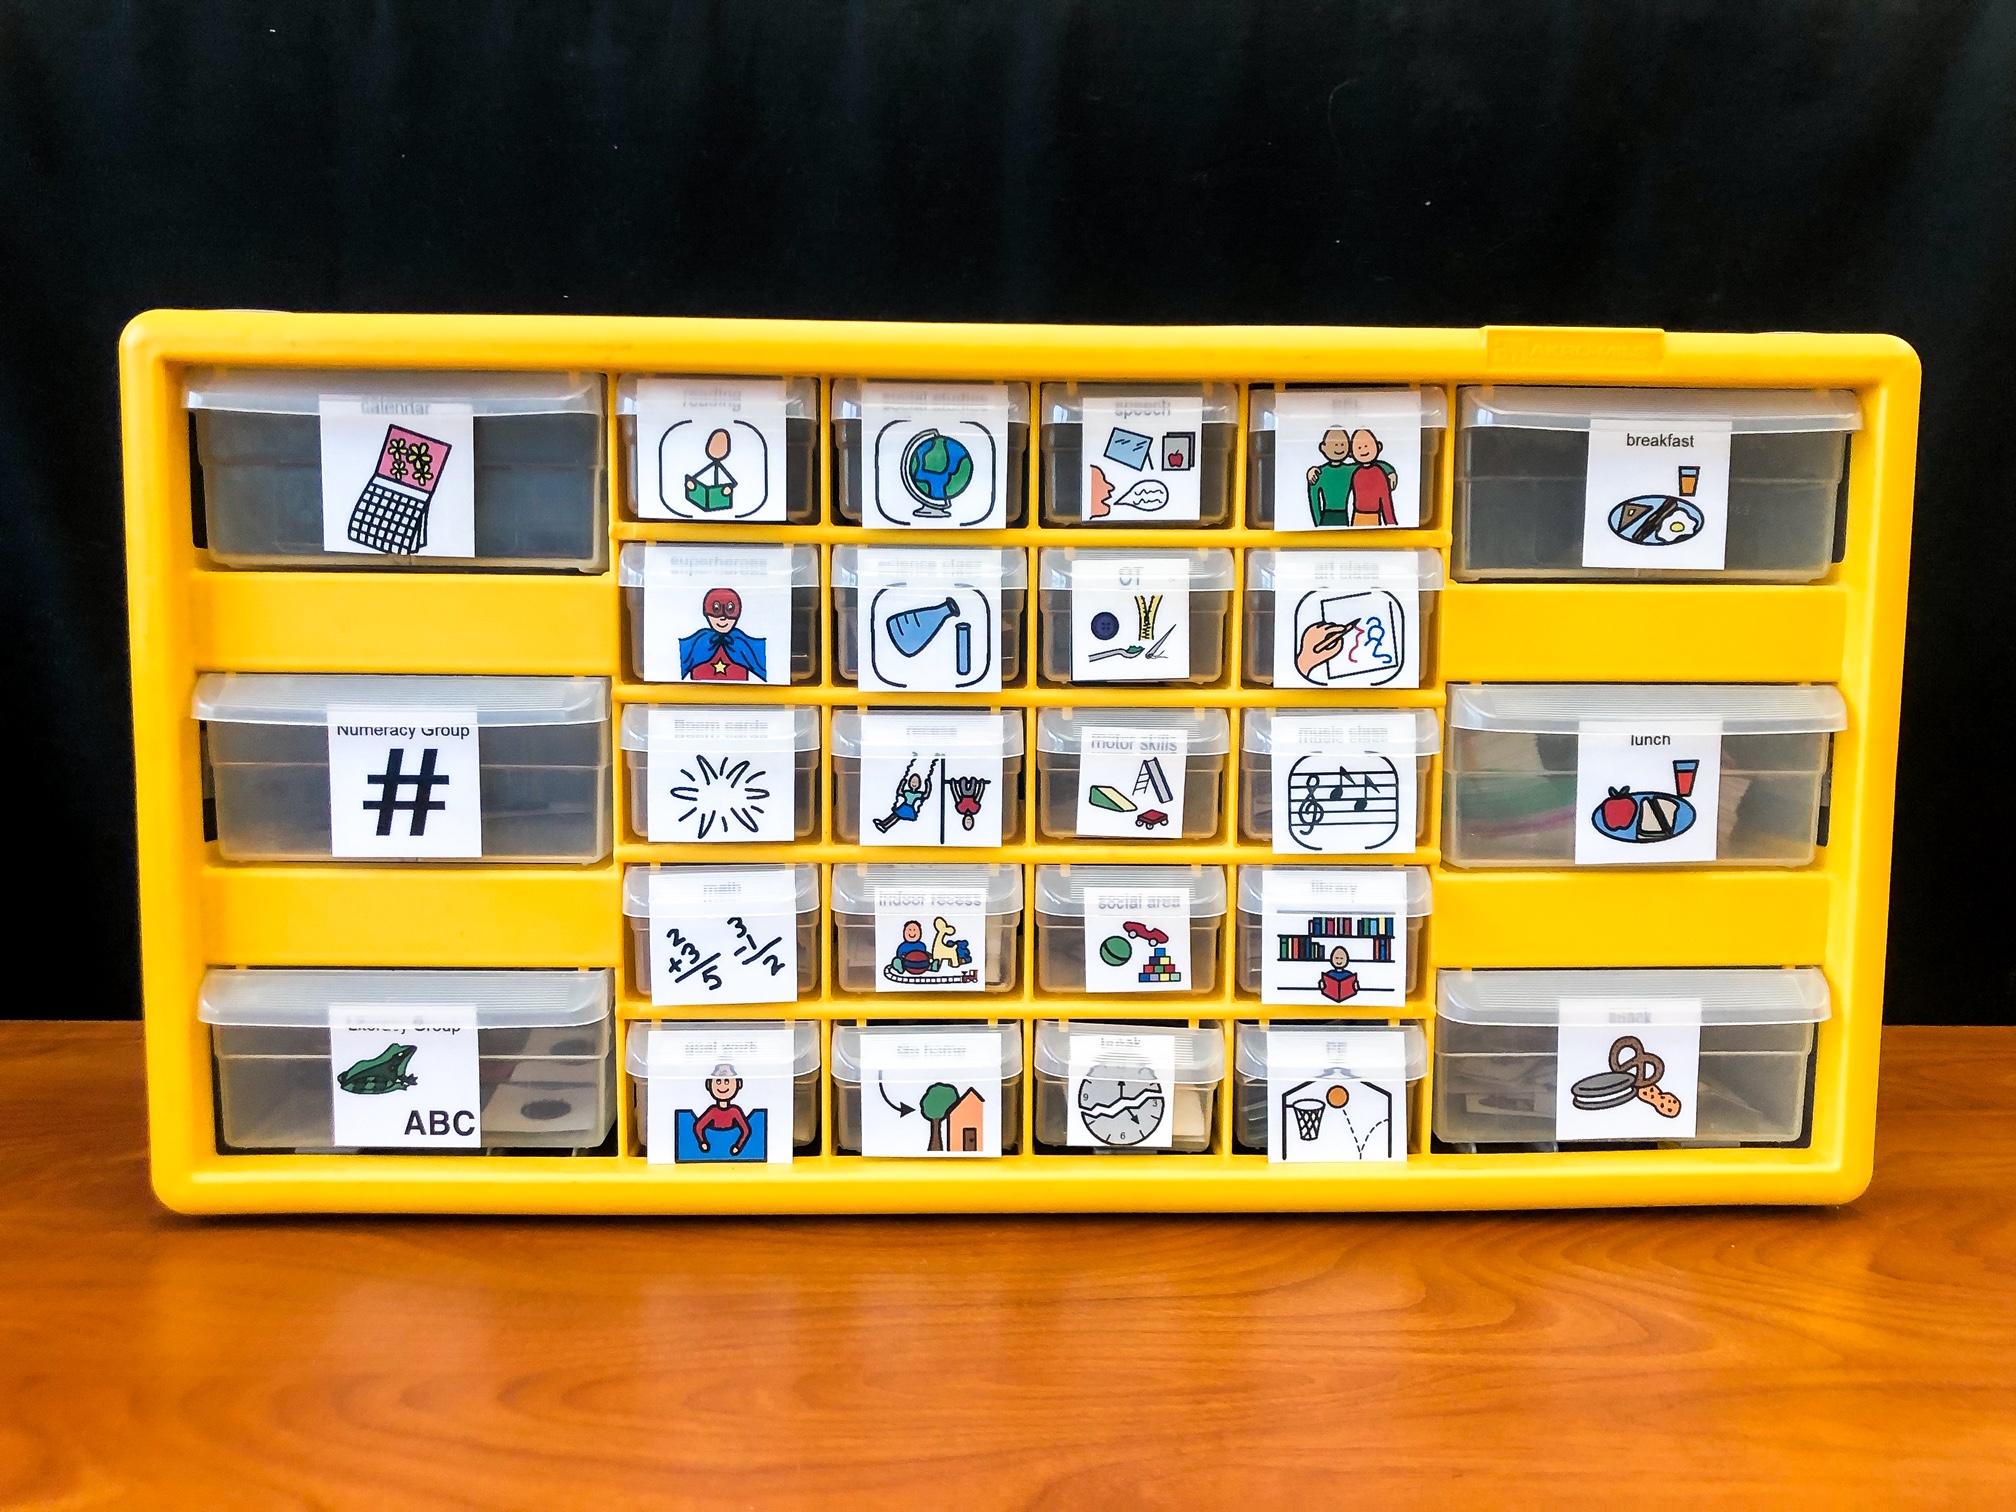
You’ve prepped your schedules, taught your students how to use them, now how do you store all those schedule pieces? So for the schedule pieces we use every day, we just reset the student schedules at the end of each day, so they stay on their schedule strips. But, I have tons of extra schedule pieces. I like to have lots of extras on hand if we lose pieces or if we change up our schedule. I use small piece storage drawers (affiliate link) like this to store our extra schedule pieces. Put a copy of the schedule piece on the front of the drawer so you can easily find all your schedule pieces. Read this blog post all about storing visuals!

What visual schedules do you use in your classroom? Try the wall schedule if you haven’t yet! If you need some more visual schedule inspiration check out this blog post!
If you want to learn more about schedules and classroom setup, Alyssa teaches this all inside her course, Simple Self-Contained Setup 101® . Join the waitlist here.

The post Classroom Schedule Tour appeared first on Simply Special Ed.
